By Lionel Kubwimana
••4 min
Transform your home into a passive language‑learning space by labeling only the objects your child already touches daily.
You dream of a home where your child sees your language everywhere—but the thought of labeling every object feels exhausting. What if you could start with just three?
Creating a language‑rich environment doesn’t mean turning your home into a classroom overnight. It’s about weaving your heritage tongue into the spaces your child already inhabits, without adding pressure to your to‑do list. This post shows you how to begin with three key objects—the refrigerator, the front door, and your child’s favorite toy—and use them to build a passive learning space that feels natural, not forced.
The phrase “language‑rich environment” often conjures images of walls covered in vocabulary posters, objects labeled in two languages, and parents who somehow find time to turn every meal into a lesson. For diaspora parents already juggling work, school, and the pace of a new culture, that vision can feel overwhelming—even paralyzing.
But the core idea is simpler: exposure. Children learn language by hearing and seeing words in context, not by memorizing lists. The goal isn’t to label everything; it’s to create moments where your language appears naturally in their world. Start by asking: “Which three objects does my child interact with every single day?” Those are your anchors.
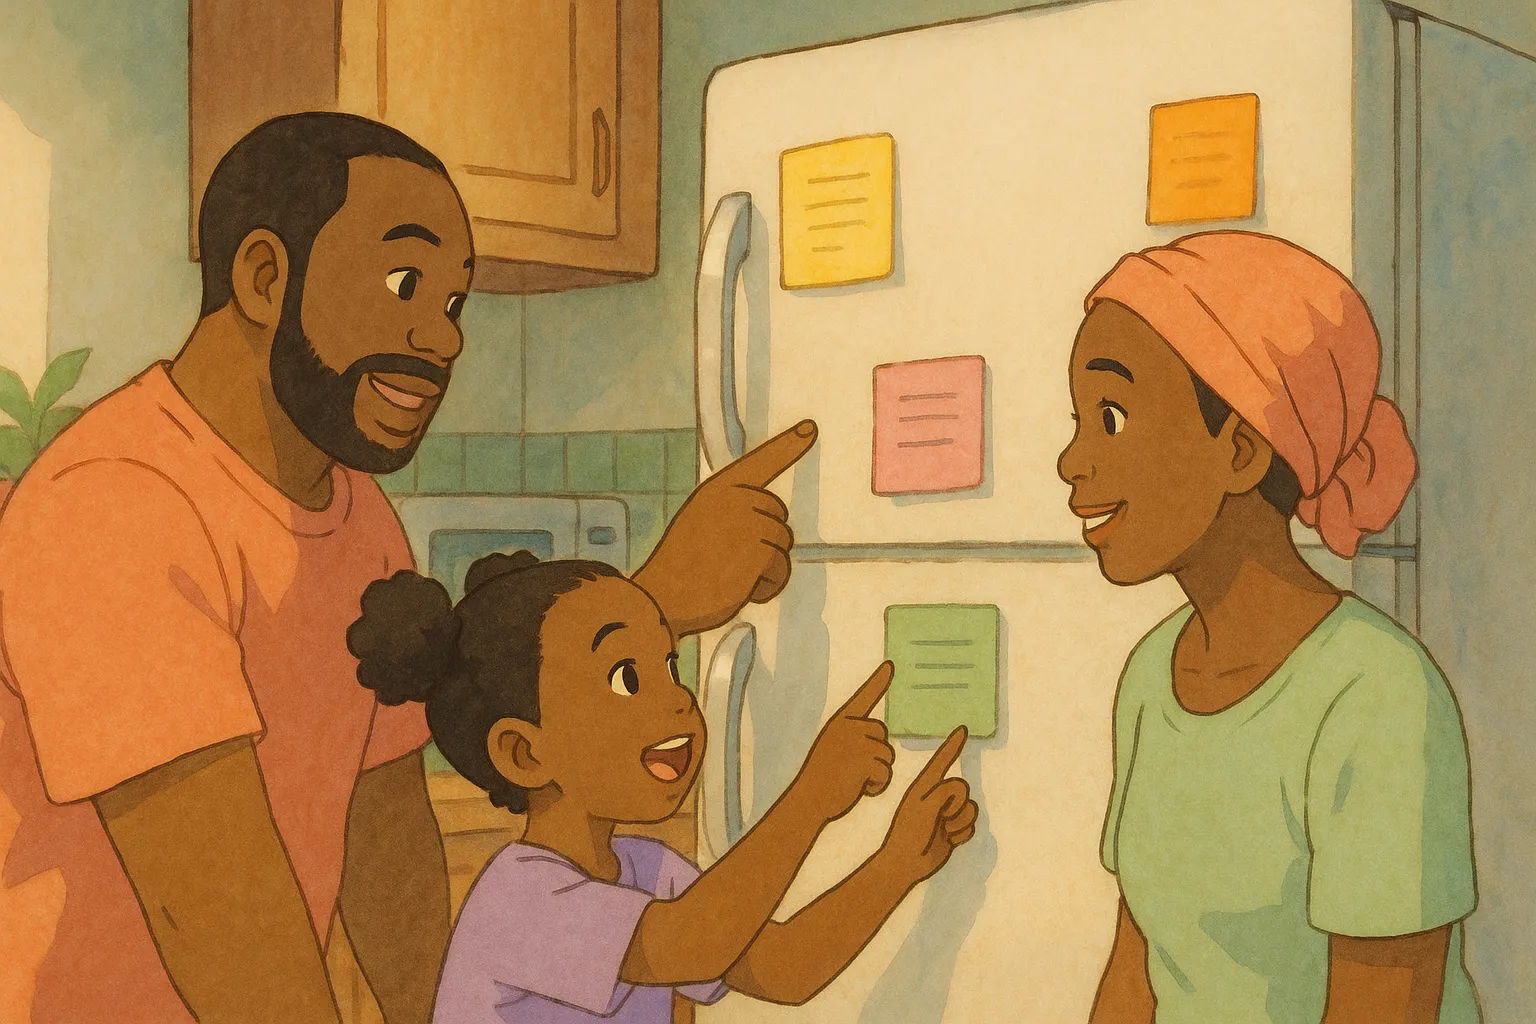
Pick three places your child already touches daily. The refrigerator is a hub of curiosity: they open it for snacks, peek inside, and ask for what they want. The front door marks arrivals and departures, a natural moment for greetings. Their favorite toy is the item they hold while playing, sleeping, or simply relaxing.
Write the word for each object in your language on a colorful sticky note or a small magnet. Use the script your family reads (if you write in a different alphabet, include a phonetic hint). Keep the label simple—just the noun. Stick the note on the fridge door, at child‑eye height. Place another on the inside of the front door, where they’ll see it when leaving or returning. Attach a third to the toy’s storage bin or, if safe, directly on the toy itself.
Why three? It’s enough to create a pattern, but few enough that you won’t feel burdened. Each label becomes a gentle reminder—for you and your child—that your language belongs here, in the ordinary flow of the day.
When your child reaches for the fridge, point to the label and say the word clearly, once. “Milk.” Then open the door and carry on. No quiz, no repetition drill, no demand that they say it back. The same at the front door: “We’re going out.” Point. “Door.” And as you hand them their toy: “Here’s your bear.”
The magic is in the lack of pressure. You’re not teaching; you’re modeling. You’re not testing; you’re sharing. Over time, your child will associate the object with the sound of your language. They may start to point themselves, or they may simply absorb the word without a visible reaction—both are progress.
If they ask what the label says, answer plainly. If they ignore it, that’s fine. The label’s job is to be present, not performative. This passive approach sidesteps the resistance that can come from formal instruction, especially with older children who may already feel self‑conscious about speaking a “different” language.
You don’t need to transform your entire house overnight. Start with three objects—three anchors that tie your heritage tongue to the rhythm of your family’s day. When those labels become familiar, you can add another, or swap one out. Let the practice evolve with your child’s curiosity.
A language‑rich environment isn’t about quantity; it’s about consistency. It’s about creating pockets where your language lives, quietly and persistently, in the spaces your child already loves. Those pockets grow into rooms, and those rooms become a home where your language isn’t a lesson—it’s simply there, waiting to be heard.